Installing Your Product
Let us help guide you through just a few quick steps to a smooth-running computer.
Before we begin, however, please remember to check your Internet connection as to avoid issues during the installation and set-up process.
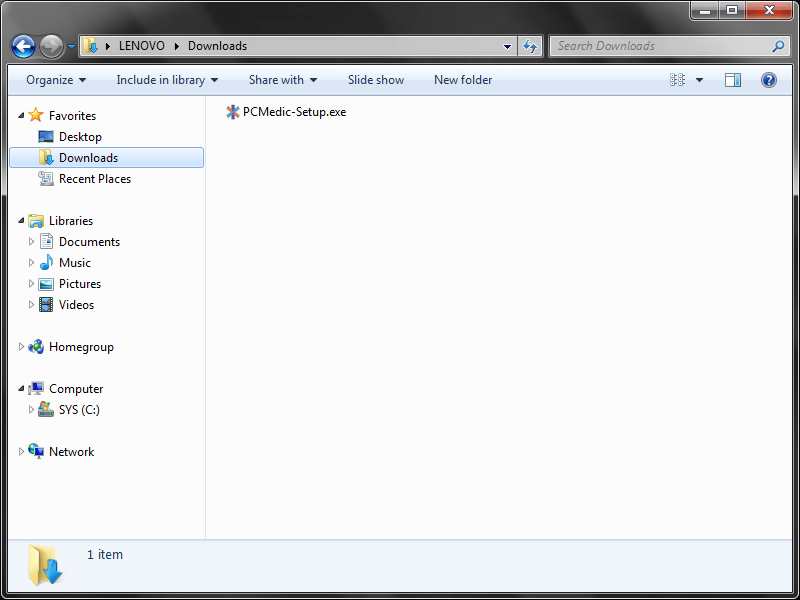
Locate the following PC Medic-Setup.exe file as shown in the illustration below.
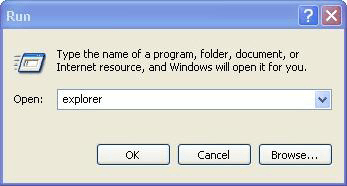
Alternatively you can press and hold the 'Windows' key + 'R' key; type "explorer" in the 'Run' dialogue box; press 'Enter'.
Tap, or click, the "PC Medic-Setup.exe" file to launch the PC Medic Installation Wizard. (If you are unable to locate the "PC Medic-Setup.exe" file you downloaded, launch your 'File Explorer' (file manager application previously known as 'Windows Explorer'), and navigate to the 'C:\Documents and Settings\user name\My Documents\Downloads' directory to locate the "PC Medic-Setup.exe" file.
Tap or click on the PC Medic installer.
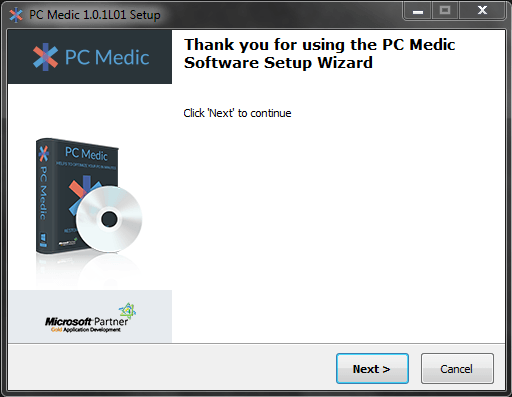
From the "Welcome" screen, please click NEXT to be guided through the End User License Agreement.
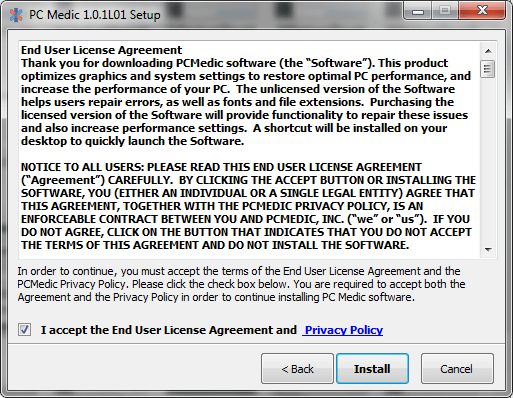
Please choose to ACCEPT the End User License Agreement and Privacy Policy.
Click to INSTALL (or, you also have the option to CANCEL)
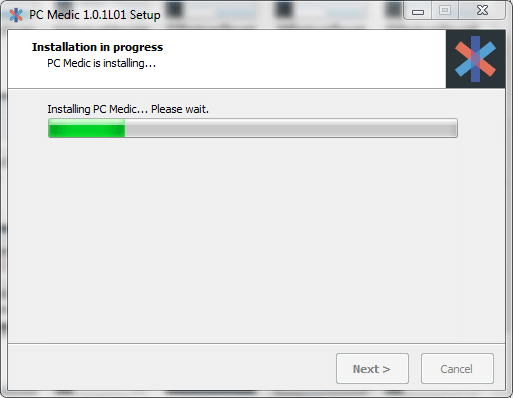
Please click NEXT to continue.
To complete the process, please check the box "LAUNCH PC Medic".

Once your final options are selected, please click FINISH.
We recommend that you re-start your computer at this point to ensure the best results. Once your PC boots up again, Windows will begin to run with the new configurations.
Questions?
Should you desire help with any problems during the installation process of PC Medic, please contact us at anytime so that a Support Technician can resolve those issues for you as soon as possible.